How to Tether your Android Smartphone for Free
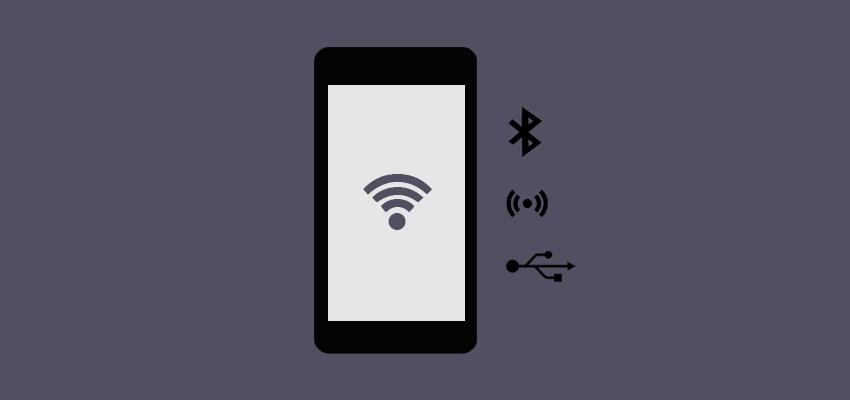
Posted May 7, 2020, 12:31 a.m. by Emil S.Tethering your Android OS phone is essentially using it as a modem. You can connect your PC or Laptop via Bluetooth, USB, or Wi-Fi to take advantage of your phone’s 3G or 4G Internet access. Using a Laptop is particularly ideal when you’re on the road. It gives you the ability to surf the web from anywhere your phone has a signal.
Check your Data Plan
First, you need to check if your carrier allows tethering and if they charge extra for the feature. Some carriers block this feature on Android phones. Others like Verizon enable tethering for free on their metered billing plans and even in some of their unlimited plans. Keep in mind that performance will vary with each carrier.
Check if Your Phone Has the Feature
- Next, you need to make sure that your phone has built-in tethering options.
- Tap on the Settings icon and select Network & Internet.
- Tap on Hotspot & tethering.
- You’ll see the options for Wi-Fi hotspot, USB tethering, and Bluetooth tethering. Your carrier may not support any of those that don’t appear or have been greyed out.
Tethering Methods
If these options are available, you may tether your Android phone without paying a single dime.
Wi-Fi Hotspot
With this method, you can use your phone as a little Wi-Fi hotspot. You’ll need a Wi-Fi capable PC, Wi-Fi device, or laptop to connect to the Wi-Fi network your phone creates. It allows you to bridge one or more devices like with the router in your home network, but it will drain your phone’s battery.
- Tap the Settings icon then choose Network & Internet.
- Go to Hotspot & tethering.
- Tap on Set up Wi-Fi hotspot to enter a network name.
- Pick Security and select WPA2 PSK for the encryption standard.
- Then tap on the Hotspot password and create a new password.
- Slide the Wi-Fi hotspot to the on position.
- Connect your laptop, PC, or device by selecting the network name.
USB Tethering
You can take advantage of the USB connection to charge your phone while it’s tethered via cable to your laptop or PC. Since it’s drawing power from the USB port, you don’t have to worry about your phone dying on you. It also provides the fastest speeds of any tethering method by a wide margin.
- Connect your phone to your PC or laptop via the USB cable.
- Go to Settings and select Network & Internet.
- Select Hotspot & tethering.
- Slide USB tethering toggle to the on position.
- Your laptop or PC should detect the new internet connection immediately, and your Internet access should be up and running.
Bluetooth Tethering
Like Wi-Fi, it’s a wireless method, although substantially slower, and you can only tether one device to your phone at any given time. It’s also the fussiest to set up and get running. The only reason you’ll opt for this method is if you’re trying to conserve your battery power because it doesn’t drain it as fast as Wi-Fi does.
Most laptops have a built-in Bluetooth, and if you have a PC that has one as well, you can tether your phone to one of them.
- Open the Bluetooth menu in Windows 10. Turn Bluetooth on and make sure your computer can be discoverable by your devices.
- Go to your phone’s Bluetooth settings. Next, you’ll need to pair your phone with your laptop or PC. Choose the computer you’d like to use as soon as it appears on the list of available devices, and the pairing process will begin.
- You’ll quickly see a prompt from both your phone and computer asking you if you want them paired.
- Pairing both of them should establish their Bluetooth connection.
- Go to the phone’s Settings and select Network & Internet.
- Choose Hotspot & tethering. You should see the toggle for Bluetooth tethering so slide it to the on position.
- On the System tray of your computer, right-click on the Bluetooth icon and select Join a Personal Area Network.
- You should see your phone, so click on it and then click on the Connect Using dropdown menu and select the Access point.
- After that, you can access the Internet.
Tethering Via Third-Party Apps
You can use a third-party app to tether your Android OS phone in case your carrier is blocking the feature. Take note that there are many paid apps out there requiring root access.
There are free apps available, and the most popular is PdaNet+. It works with USB and Bluetooth tethering but is choppy and not practical with Wi-Fi. The downside with PdaNet+ is how it would cut the connection at regular intervals forcing you to turn it back on again. The only way to stop it from doing that is to buy it.
As a plus, it doesn’t require you to root your phone. You’ll find other free alternatives in Google Play that uses root access like Magisk/Xposed. They will let you circumvent your carrier’s restrictions on tethering.
Rooting Your Phone
Having your phone rooted is the most drastic solution that will void your warranty as well. There’s also the risk that it may render your phone useless. However, it gives you complete control over system settings.
You can compare it to the administrator privileges in Windows that grants you full access to its aspects that are otherwise restricted. Rooting your phone will remove all restrictions on what apps you’re allowed to download.
